Wednesday, January 27, 2010

Shhhhh It’s A Secret!

This part is NO secret, I  have five very special men in my life; my husband, my son and my three  grandsons.  Two of which will be celebrating birthdays tomorrow, January 28th, my husband and my youngest grandson.  It’s hard to believe that a year has past since God blessed us with a miracle of our third grandson, giving Charlie a birthday gift from heaven.  

Now this is the secret, I had been trying to figure out what I could get Charlie (my husband)  for his birthday and I’ve come up with two things.   We are BIG time hockey fans and I was able to purchase him tickets to a Washington Capitals game. 036
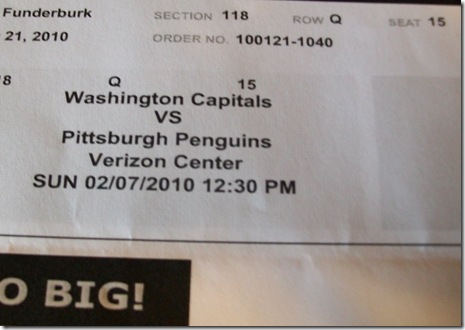
What a big game this will be.  They are playing the  Pittsburgh Penguins who are the Stanley Cup Winners from last year……….GO CAPS! 

Now for the 2nd gift which I made and it comes  from my heart.  

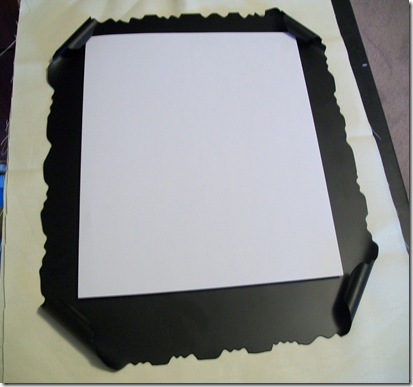
I used a  12x12 canvas and  painted it  black.   In case you’re wondering, this is not the gift.  I brought this canvas at a yard sale back in the summer.  019
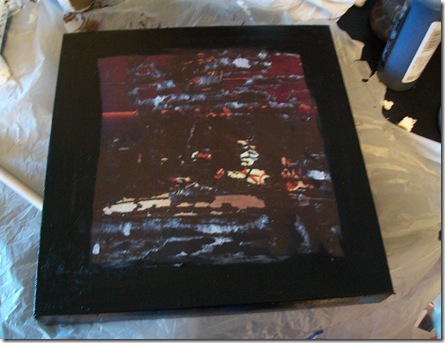
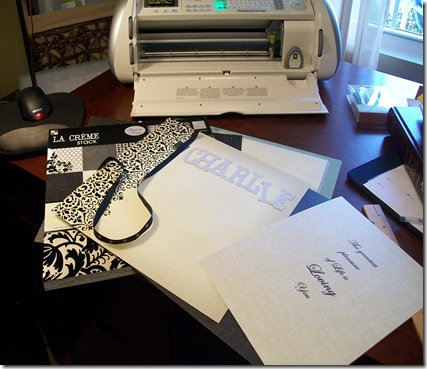
I used my Cricut and scrapbook paper.014

A metal frame.032

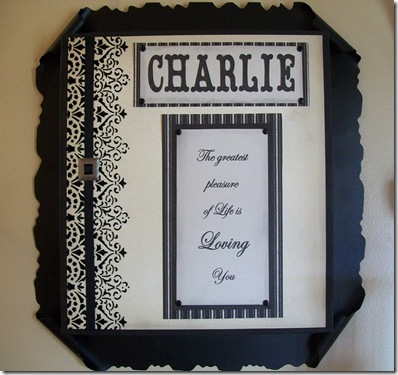
And this is the gift from my heart!  028

Now I have to tell you, my husband is my biggest blog fan so I’m hoping that I am able to sneak this post in otherwise it will be NO Birthday surprise tomorrow! 

Gail

I’m posting this to It’s So Very Cheri for Celebration.  Thanks Cheri for hosting such a fun party!

Sunday, January 24, 2010

I Made Another Monogrammed Wreath

I loved my Christmas monogrammed wreath so much that I made another one to replace it.   To see my Christmas Monogrammed Wreath you can go  here

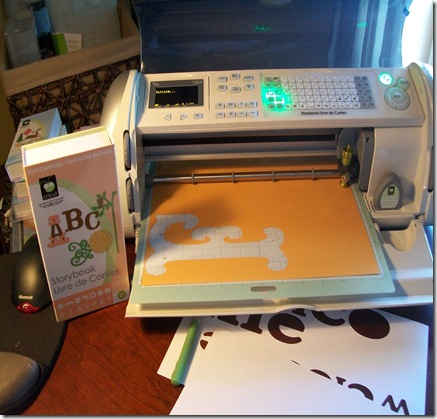
I started out  basically the same way I did my Christmas wreath.  I used my Cricut and the Story Book Cartridge to make my “F”.   By the way, I love this cartridge!  005
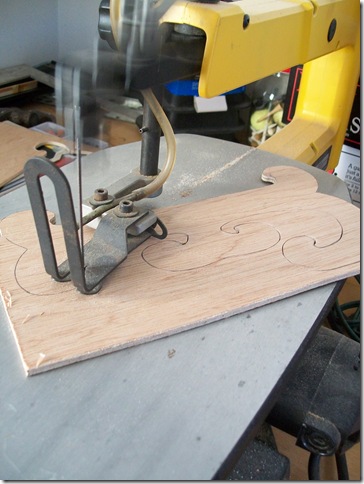
I traced the letter on luan board and cut it out using my skrol saw.009

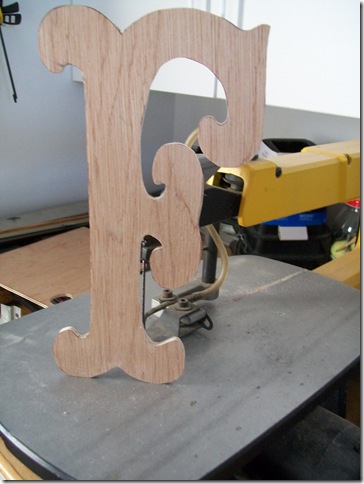
The finished “F” cut.     Now ready for painting.   011

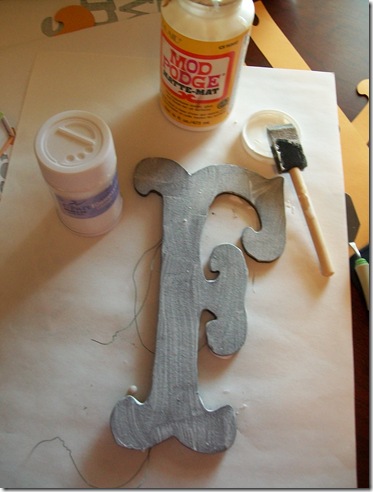
I painted it  and then decided I wanted to add some texture to it so I put Mod Podge  on it and sprinkled white glitter.  After it dried I repainted it again.004

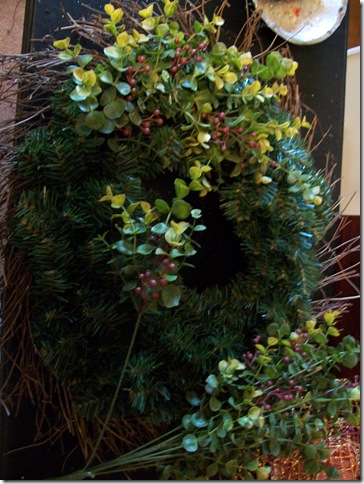
Now onto the wreath part.  I wired two wreaths together and hot glued eucalyptus stems covering the whole wreath.  I added some hydrangea and wired my “F” on.  026

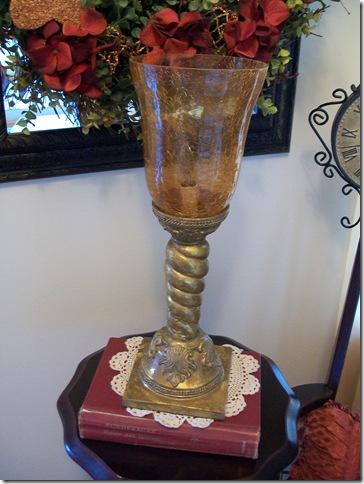
Before I show you the finished wreath, I wanted to use this lamp on a pedestal table that sits under the mirror in our foyer, but I felt the gold needed to be toned down a bit.025

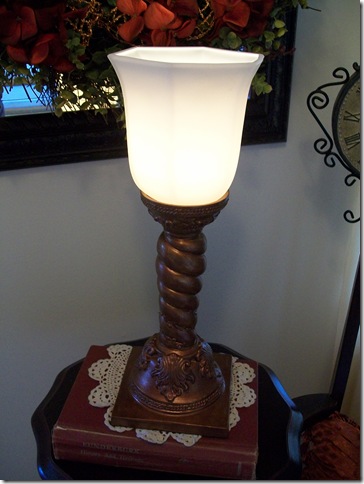
I used a sponge brush and dabbed  paint on the lamp using the same color I painted the “F” and bought a new globe.   032

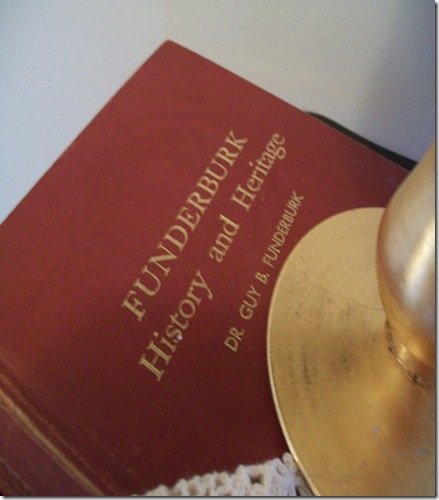
The lamp sits on a family history book that was written in 1967 about my husband’s family.  039

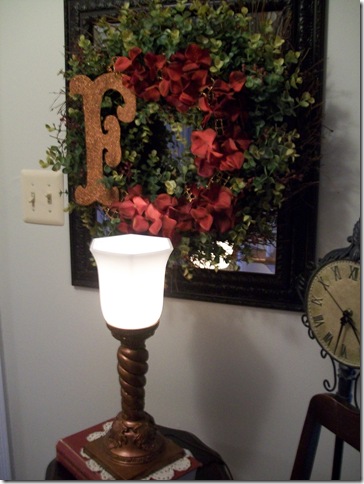
I really like it!  I had a lot of compliments during the holidays about the Christmas Monogrammed Wreath and I’m getting the same feedback regarding this one.  013

 015

I’m working on a pillow for the chair beside the table using my Cricut.  I’ll be sure to post about it when I’m all done.  I’m lovin’ my Cricut. 

Gail

P.S.  I’m linking this post to A Picture is Worth a 1000 Words for 2nd Time Around Tuesday, Reinvented for Trash to Treasures and Today’s Creative Blog for Get Your Craft On.   Thanks ladies for hosting such a fun party.  

Thursday, January 21, 2010

An Easy Fix

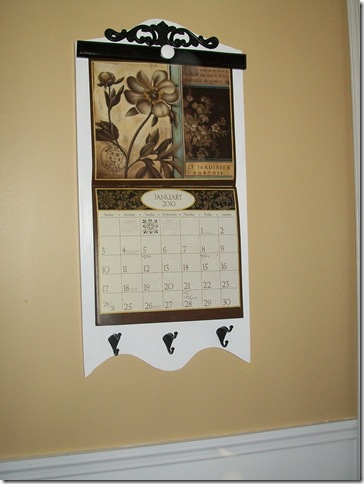
Many years ago, I purchased this calendar holder at a craft show.   Originally it was stained oak.  Back then everything was stained.  About a year ago, I painted it white.   Although I hung it back up, I still wasn’t happy with it.  I thought about just getting rid of it but  I like having a calendar.    So with that being said I changed a few things.

 009

I added a decorative accent to the top  and used black as my accent color.    I removed the pegs and replaced them with black hooks.   

010

I like it now.  It went from blah to aah.  I love calendars!  I think they add instant art to your walls.

Gail

P.S.  I’m linking this post to Funky Junk Interiors for Saturday Nite Special.   Thanks Donna for hosting such a fun linky party. 

Sunday, January 17, 2010

Brrrrr A Winter Welcome

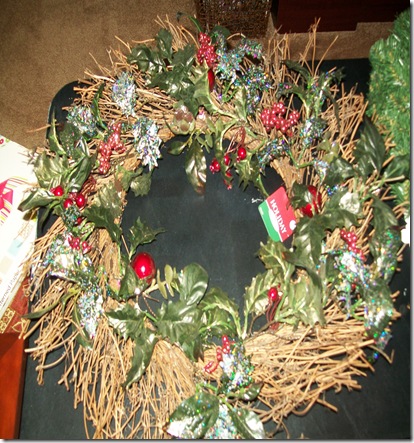
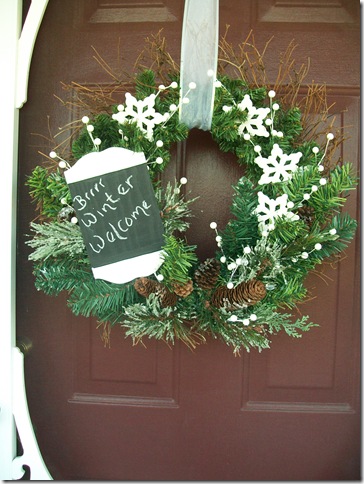
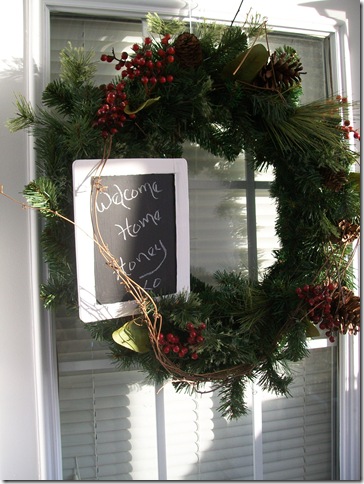
My front door and  garage door were looking so unwelcoming when I took down my Christmas wreaths.  I’ve always decorated my doors for all seasons making it time for some new winter wreaths.   So, I purchased three wreaths from Jo-Ann’s a few days ago.   I paid $3.49 for each.  The list price on the wreaths were $34.99…..I couldn’t believe it…..I would have never paid that for them!  They looked awful but I knew I could fix that.    008

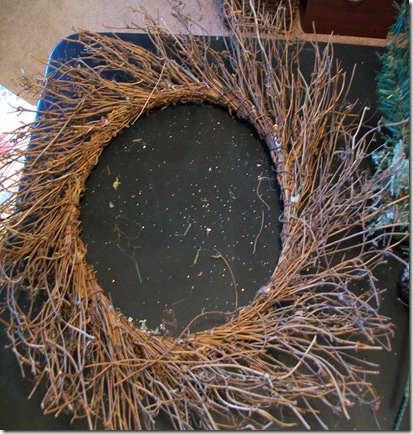
I took off all the floral pics.

013

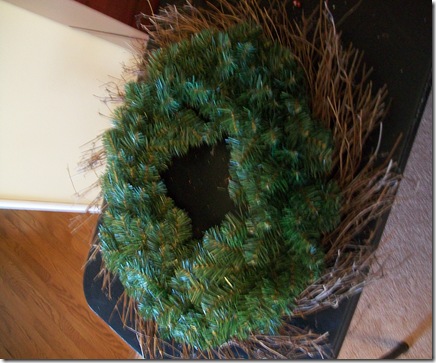
   I wired another wreath on top. 014                                                                                                                                        Using items I already had, I was able to create this…….007 

016 - Copy             Now I have a new winter wreath on my front door!  I loved the little chalkboard sign I made so much I even added one to the garage door wreath.

052     

Again this wreath was made just using things I already had.     My plans are to leave my hubby a little sweet something written each morning as he leaves for work!    This message was left for him when he got home from work on Thursday.

Gail

P.S.  I’m linking this post to It’s So Very Cheri for Celebrate the Holidays.    Thanks Cheri for hosting such a fun linky party. 

Thursday, January 14, 2010

Vintage School Desks

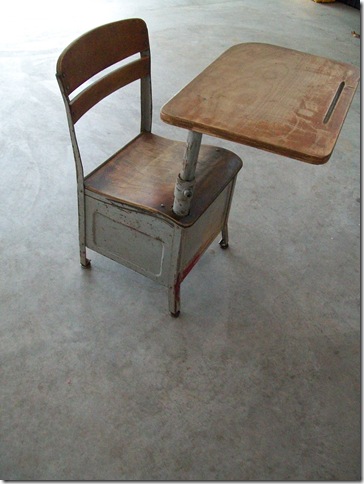
Several months ago, I purchased two vintage school desks at an auction.  I think I paid $5.00 a piece for them.   

003

My niece wanted them for her children’s playroom. 

001

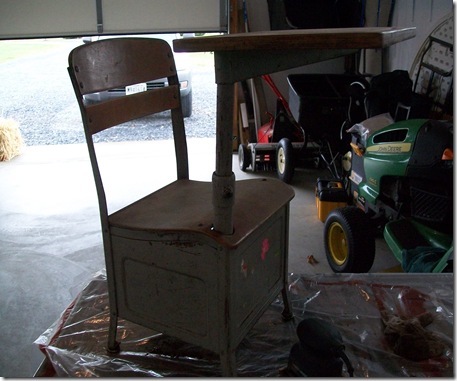
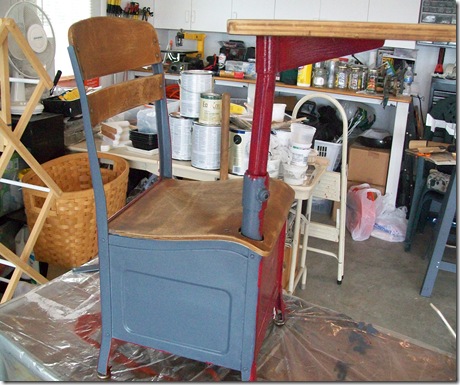
I sanded each one and  used a gray primer.   I started painting them red as you can tell in the picture below.   I painted the top of the desk with a magnetic paint and then painted over top of that with a chalkboard paint as you can see in the picture. 

020 

047

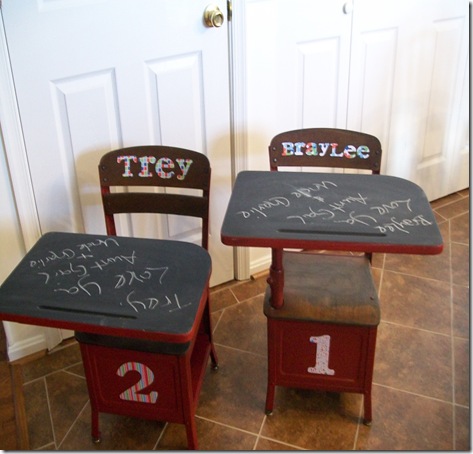
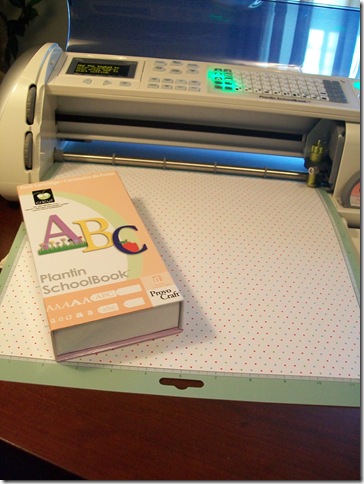
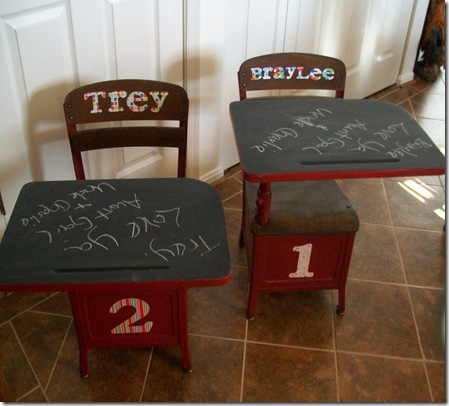
I used my Cricut  and the School Book cartridge to cut the lettering for their names and numbers.  I Mod Podged their name and a number on each desk.033

I left the seats and the back of the desk as they were.  I still wanted to keep some of the vintage charm. 

035

038

My niece told me that BrayLee who is four years old loves her desk.  She said that Trey who is one tries to climb up in the seat.  I’m glad they’re enjoying them because I enjoyed working on them.  And to think that these vintage desks are now being used by a new and precious generation.

Gail

P.S.  I’m linking this post to Funky Junk Interiors for Sat Nite Special.   Thanks Donna for hosting such a fun linky party.

Friday, January 8, 2010

Duncan’s Apothecary Jar

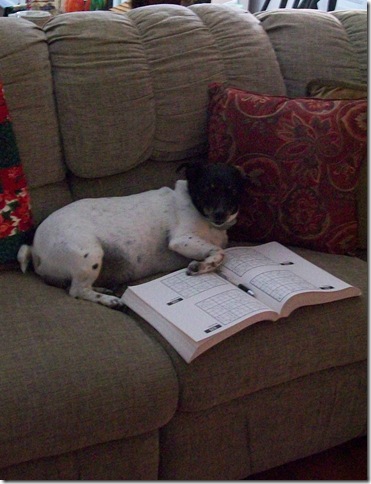
This is Duncan our nine year old Jack Russell.   I  felt so sorry for him when we were working on our kitchen.  His dog dish must have been moved at least 10 times.  He was such a good boy during all of  that, I  thought I would make him a little something special. 

012 

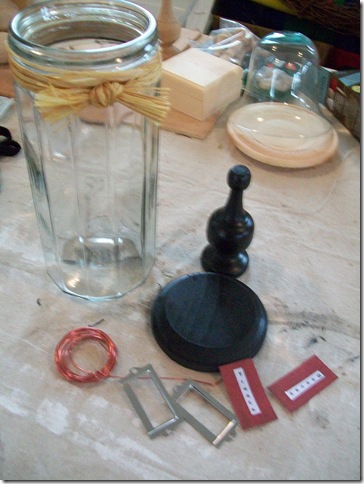
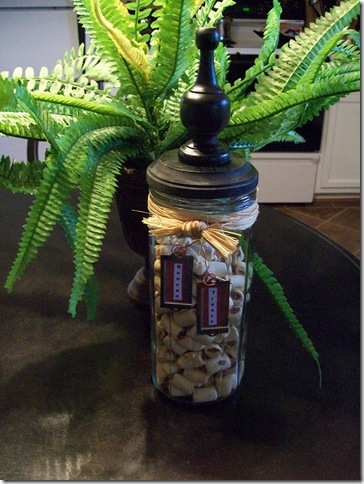
An apothecary jar of his very own to hold his  “Good Boy Treats”.

I had everything so I didn’t need to purchase a thing.  I’m sorry but I started this project and realized that I hadn’t taken any “before” pictures.  But as you can see, I  spray painted the finial and the wooden circle base black.  I hot glued the finial to the wooden circle base,  tied raffia around the top of the glass,  made  name tags that said “Duncan’s Treats” and wired them on. 

006 

Presto……an apothecary jar holding “Good Boy Treats” for our special little someone….Duncan. 

012

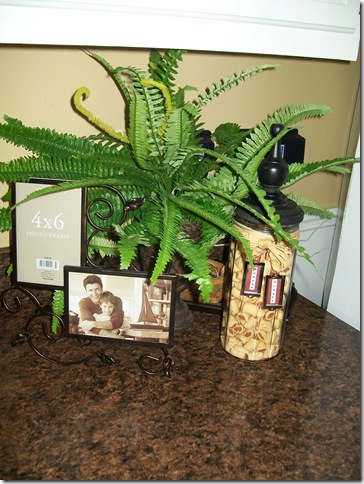
It sits on our countertop in the kitchen and he knows exactly where to sit and wait for a “Good Boy Treat”. 

 001 - Copy

In case you’re wondering, I have plans for the frame that’s sitting there.  I’ll have to post about it later. 

Blessings,

Gail

Monday, January 4, 2010

Our Kitchen is Completed!

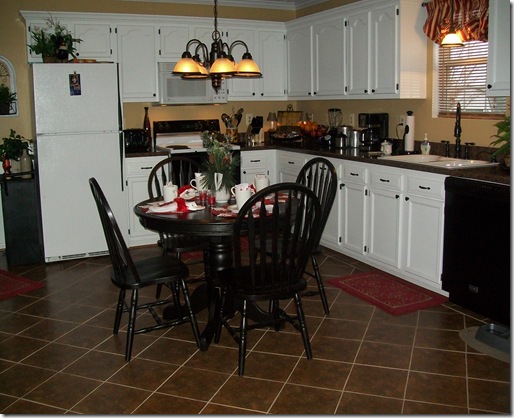
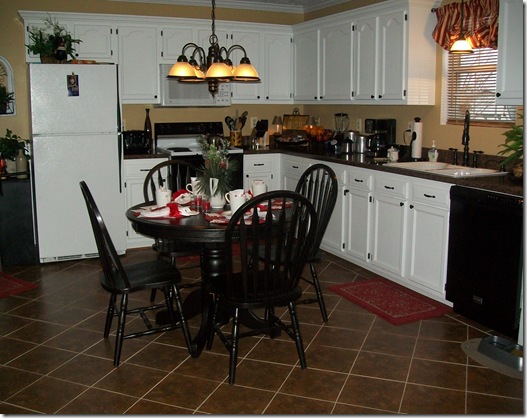
HOORAY!!!!! we are done with our kitchen and I’m so  LOVIN’ my new kitchen.  009

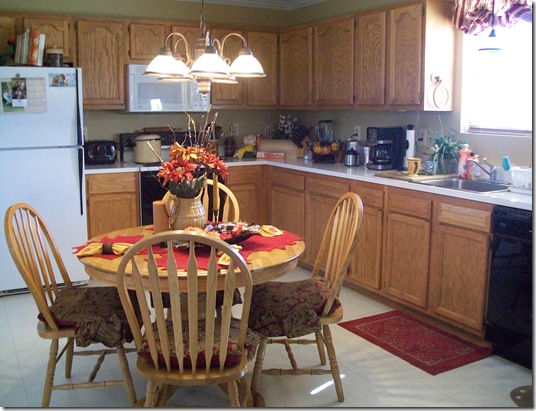
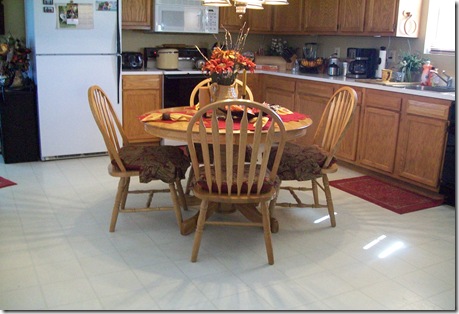
A picture of the before……015

Our kitchen remodel started a few months ago when Melissa at the Inspired Room hosted a Procrastinators Party.  The plans  at that time were to:

  • Add crown molding at the top of the cabinets
  • Install glass doors on a few top cabinets
  • Paint the cabinets white
  • Add hardware to the cabinets
  • Install new countertops
  • Install a new sink
  • Install a new faucet
  • Install a new tile floor

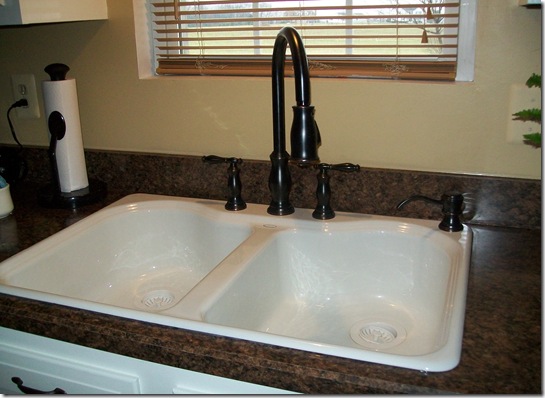
On December 29th, the final phase of our kitchen remodel was completed with the installation of our countertop, sink and faucet. 

005 - Copy - Copy

We did indeed accomplish everything we set out to do.  We added crown molding to the top cabinets,  painted the cabinets white,  added the hardware to the cabinets, installed a new countertop, sink , facet and a new ceramic tile floor. 

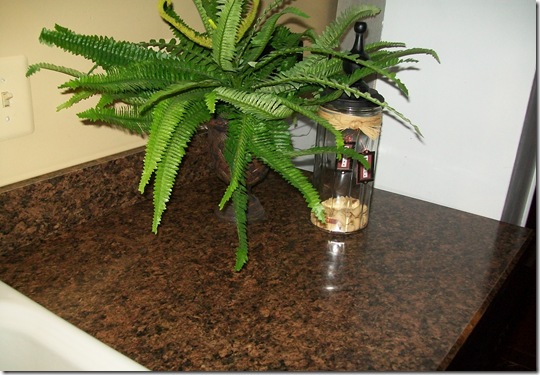
I spent a lot of time at Lowes trying to decide on a countertop.  I ended up going with Laminate and  I have to say, I love my decision!  

021

I love my ceramic double sink and goose neck faucet.  Before I had a stainless steel single sink.  004 - Copy

In a previous post I mentioned  adding an island coming off this wall.   Well I changed my mind.  I didn’t want to make my kitchen feel boxed  in.

008

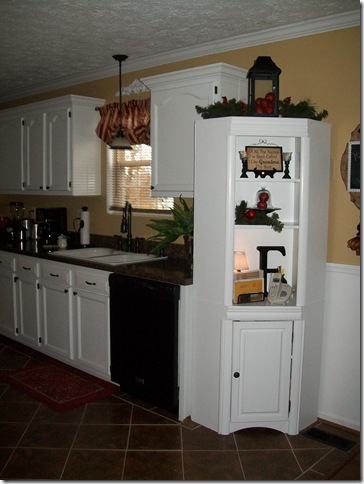
So, instead I decided on this corner cabinet.    It’s okay for now until I find something that I think will work better.  I’ll be tweaking this cabinet for sure. 

003 - Copy

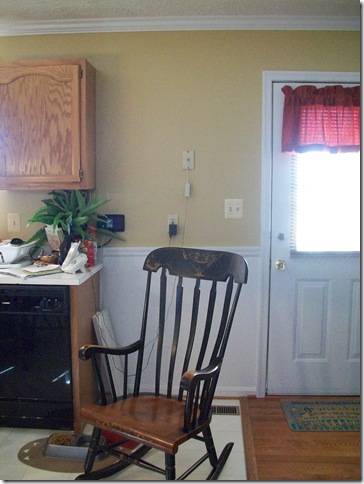
Another before…….006

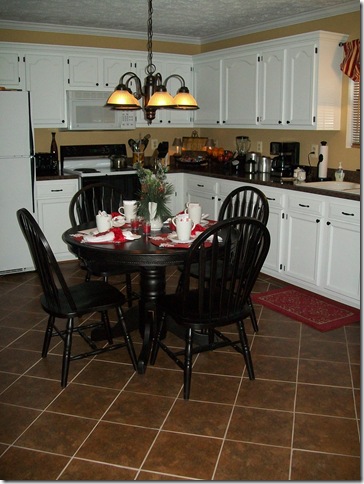
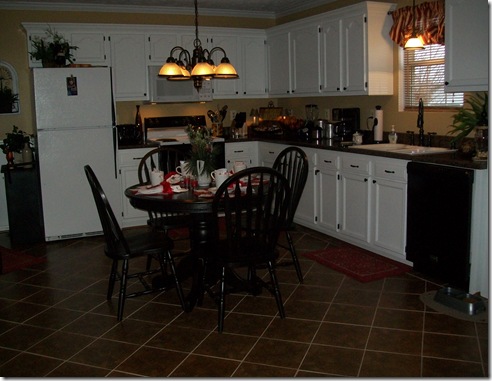
and after.  I even painted the table, chairs and the lighting.  003 - Copy (2)

I love how we went on a diagonal with the floor.  It was a lot of work but in the end it was well worth it. 

013 - Copy (2) - Copy Well there you have it!  It seems like it took forever but in the end it was worth waiting for.  Eventually I would like to add a back splash and a few glass cabinet doors but that will just have to wait till spring.  For now I’m just enjoying what we have done! 

Blessings,

Gail

P.S.  I’m linking this blog post to The Shabby Chic Cottage for Transformation Thursday. 

Related Posts with Thumbnails